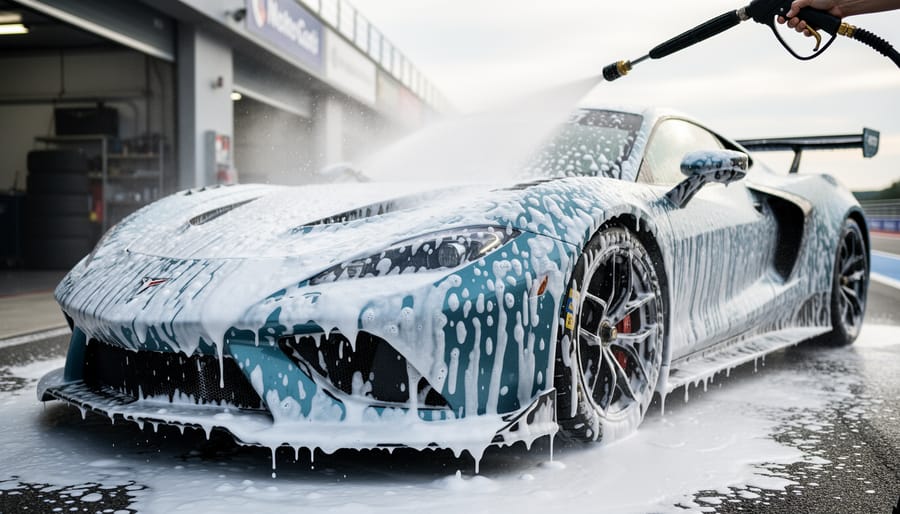
The snow foam pre-wash technique removes abrasive track debris from race car surfaces before physical contact, preventing paint damage and protecting expensive wraps and liveries. This two-bucket method combined with high-foam detergent application takes roughly 15 minutes and serves as essential insurance against swirl marks that can compromise a car’s appearance after just one race weekend.
Race cars face contamination challenges far beyond normal street vehicles. Rubber marbles, brake dust, oil mist, and tire compound splatter bond aggressively to bodywork at track temperatures, creating a minefield for anyone approaching cleanup with a traditional wash mitt. The Canadian racing community, particularly those involved in grassroots racing has learned this lesson through costly paint correction bills and damaged sponsor decals.
Snow foam acts as a chemical barrier, encapsulating particles in thick foam that lifts contaminants away from the surface before you ever make contact. The technique requires specific foam concentration ratios, dwell times, and rinsing patterns that differ from consumer car washing. Get it wrong and you risk streaking, insufficient cleaning, or worse, grinding debris into clear coat during the wash phase. This guide walks through the race-specific approach that protects your investment while delivering the clean finish your car deserves between sessions.
Why Snow Foam Pre-Wash Matters on Race Day
Race cars return from track sessions covered in contaminants that street vehicles rarely encounter. Brake dust baked onto bodywork at operating temperatures exceeding 800°C, rubber particulates flung from tires at triple-digit speeds, oil mist from competing cars, fuel residue from pit lane, and abrasive track grime embedded with asphalt particles create a coating that’s far more aggressive than typical road dirt. These contaminants bond to paint surfaces with surprising tenacity, and attempting to remove them with a sponge or wash mitt directly introduces micro-scratches that accumulate over a racing season.
Traditional bucket-and-sponge washing relies on physical contact to break down grime, but that contact drags hard particles across paint and wraps before they’re fully loosened. Each pass creates microscopic abrasions that dull the finish and compromise protective coatings. Over time, this damage becomes visible as swirl marks, haziness, and diminished gloss, problems that require expensive paint correction to reverse.
Snow foam pre-wash changes this equation entirely. A quality snow foam lance delivers thick foam that clings to vertical surfaces for 5-10 minutes, giving the chemical surfactants time to encapsulate and lift contaminants away from the paint without any physical contact. The foam’s dwell time breaks the bond between grime and surface, allowing a simple pressure rinse to carry away the majority of harmful particles before you ever touch the car. This chemical lifting action removes 70-80% of contamination risk before the contact wash begins, preserving the finish your sponsors expect and reducing the maintenance burden across a racing season.
Tools and Materials You’ll Need
Choosing the Right Snow Foam Lance
Not all snow foam lances are created equal, and choosing the wrong one can waste precious track-side time. The two main types you’ll encounter are adjustable-ratio lances and fixed-ratio models. Adjustable lances let you dial in foam thickness on the fly by changing the soap-to-water mix, which proves invaluable when dealing with varying contamination levels between sessions. Fixed-ratio lances are simpler and typically cheaper, but they lock you into one foam consistency regardless of how dirty your car is.
Connection fittings matter more than most racers realize. Most pressure washers use either 1/4-inch quick-connect or M22 threaded fittings. Before race day, verify your lance matches your pressure washer’s connection type, adapters exist, but they’re one more thing to forget in your tool kit. Check the lance’s pressure rating too; track-side equipment often runs at 1500-2500 PSI, and using an under-rated lance risks failure mid-wash.
Foam thickness depends on the lance’s mesh filter and orifice size. Thicker foam clings longer to vertical surfaces like fenders and doors, maximizing dwell time. Look for lances with brass or stainless steel nozzles rather than plastic, they withstand the abuse of weekend racing far better.
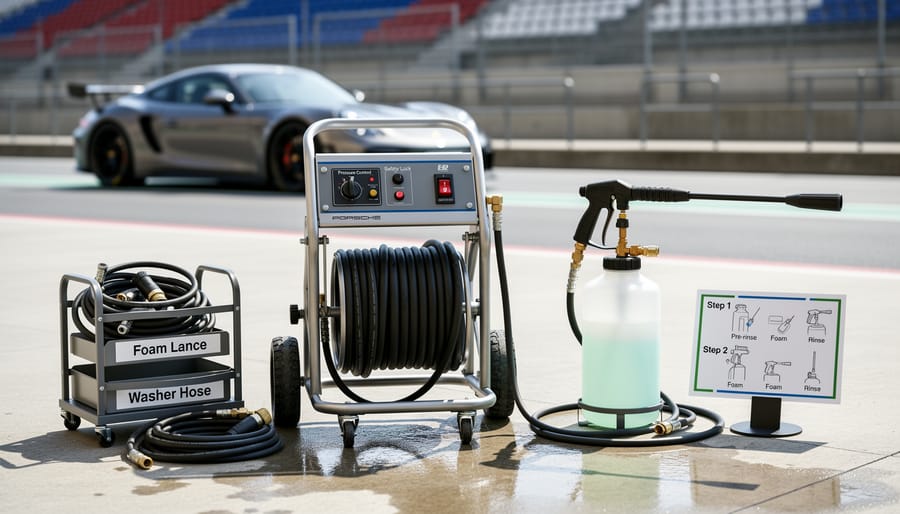
Selecting Safe Snow Foam Solution
A pH-neutral snow foam (typically 7.0 on the pH scale) protects your race car’s paint, wraps, and sponsor decals from chemical damage. Alkaline or acidic formulas might clean faster, but they can degrade vinyl graphics and clear coat over repeated applications, something you can’t risk with expensive liveries.
Most professional-grade snow foams work at 1:10 to 1:20 dilution ratios (product to water), though you’ll adjust based on contamination levels. After heavy track sessions with significant rubber buildup, start at 1:10 for stronger cleaning power. For light maintenance washes between sessions, 1:15 works well and conserves product.
Choose biodegradable formulas whenever possible. Many Canadian tracks have environmental restrictions on chemical runoff into their drainage systems, and non-compliant products can result in paddock violations. Check your specific track’s rules before race weekend.
Avoid snow foams marketed for heavy degreasing or those containing solvents. These aggressive formulas can lift wrap edges, fade decals, or leave residue that interferes with sponsor branding. Stick with products specifically labeled safe for vinyl wraps and clear-coated surfaces.
Pre-mixed solutions offer convenience for quick track-side cleaning, but concentrated formulas provide better value for teams washing multiple cars throughout a race weekend. Store concentrates properly between events to maintain effectiveness.
Safety Warnings and Pre-Wash Checks
Before you foam your car after a race day autocross or track session, run through these critical safety checks to protect your investment and the environment.
First, verify your pressure washer operates between 1,200-1,800 PSI maximum. Race car paint and vinyl wraps can’t withstand the industrial-grade pressure (2,500+ PSI) that might seem efficient but will lift edges, crack clear coat, or damage sponsor graphics. Maintain a minimum distance of 18-24 inches from all painted surfaces and bodywork panels. Closer than that risks forcing water behind decals or into seams.
Sponsor decals deserve special attention. Never aim the lance directly at decal edges or seams where water can penetrate and cause lifting. If a decal already shows edge lift or bubbling, avoid that area entirely until it’s professionally repaired. You’re representing brands on track, and damaged logos reflect poorly on everyone.
Protect electrical components by avoiding direct spray on air intakes, ECU access panels, alternator vents, and battery compartments. Even water-resistant racing electronics can fail if pressurized water forces its way past seals. Cover exposed wiring harnesses with plastic bags if they’re accessible in your paddock setup.
Check your track facility’s drainage regulations before starting. Many Canadian circuits require biodegradable products and prohibit washing over storm drains that lead directly to natural waterways. Position your car over designated wash areas or use containment mats if provided.
Stop immediately if you notice paint discoloration, wrap edges lifting, water pooling inside vents, or foam entering cockpit areas through damaged seals. These conditions require assessment before continuing, forcing through risks turning minor issues into expensive repairs.
Step-by-Step Snow Foam Pre-Wash Process
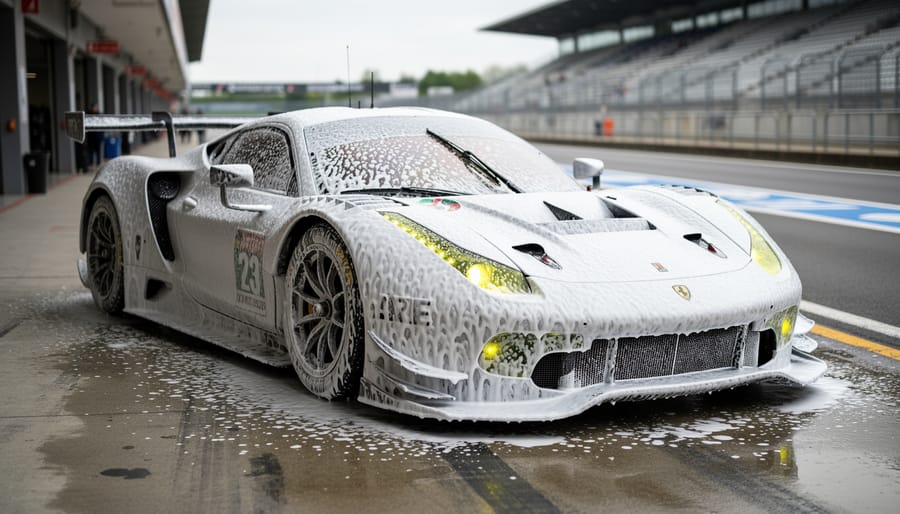
Initial Rinse and Debris Removal
Begin with a top-down rinse to flush away the heaviest contaminants before they scratch painted surfaces during the snow foam stage. Hold your pressure washer wand 18 to 24 inches from the bodywork and use a 25-degree nozzle tip, enough force to dislodge rubber marbles and brake dust without blasting decals or damaging vinyl wraps. Start at the roof and work downward in overlapping horizontal passes, letting gravity carry debris away from clean areas.
Pay special attention to wheel wells, side skirts, and the front splitter where track grime accumulates thickest. On Canadian race tracks you’ll often find clay and rubber buildup in these zones after wet sessions. Angle your spray to push contaminants off the car rather than across painted panels. Avoid direct hits on sponsor logos, air intakes, and any opened body panels. This initial pass removes 60 to 70 percent of loose material, creating a clean canvas for the snow foam to work its chemistry.
Applying Snow Foam Coverage
Start at the bottom of the car and work upward, gravity helps the foam cling longer to vertical surfaces while carrying loosened contaminants downward. Set your lance’s mixing ratio to produce thick, shaving-cream consistency foam; thin, runny foam slides off too quickly to work effectively. Hold the lance 2-3 feet from painted surfaces and use overlapping horizontal passes to ensure complete coverage without gaps.
For formula cars or compact sports racers, you can foam the entire vehicle in one pass. Larger prototypes or touring cars benefit from a sectioned approach: foam one side completely, then move to the other while the first side works. This prevents premature drying during hot afternoon sessions, common during CTMP track prep when paddock temperatures climb.
Once coverage is complete, let the foam dwell for 5-10 minutes depending on contamination level and ambient temperature. Heavier track grime needs the full 10 minutes; lighter dust from practice sessions may only need 5-6. Watch for the foam beginning to thin and slide, that’s your cue that chemical action is nearly complete and rinsing should begin soon.
Dwell Time and What to Watch For
The foam needs 5-10 minutes of contact time to break down track contaminants effectively. Watch for the foam changing from thick white to a thinner, more translucent appearance as it works, this signals the surfactants are lifting grime from the surface. If sections start drying before you’ve reached the 5-minute minimum, immediately reapply foam to those areas. Dried foam leaves residue and defeats the pre-wash purpose.
Canadian tracks present specific challenges: morning sessions in cool weather (below 10°C) allow longer dwell times since foam stays wet longer, while midday summer heat above 25°C accelerates drying considerably. In hot conditions, work in smaller sections and reduce dwell time to 4-6 minutes. Wind also speeds evaporation, position your car to create a wind break when possible, or apply thicker foam layers in exposed areas.
Final Rinse Technique
Start the final rinse from the top of the car and work downward, using a wide fan spray pattern set to medium pressure (1,000-1,500 PSI). Hold the lance 12-18 inches from painted surfaces to avoid forcing water under panel gaps or damaging vulnerable areas. Work in overlapping horizontal passes, ensuring you flush away all foam and the contaminated layer it suspended.
Pay special attention to vents, door jambs, wing endplates, and sponsor decal edges where foam accumulates. Angle the spray to direct runoff downward rather than sideways across the bodywork. Avoid lingering on one spot, which can create water spots or push debris into crevices.
Complete coverage is critical, any remaining foam will dry into streaks and negate your pre-wash effort. Run your (gloved) hand across a small test area; if it feels slick rather than clean, rinse that zone again. Once the car sheets water evenly without soap residue, you’re ready for contact washing.
Verification and Readiness for Contact Wash
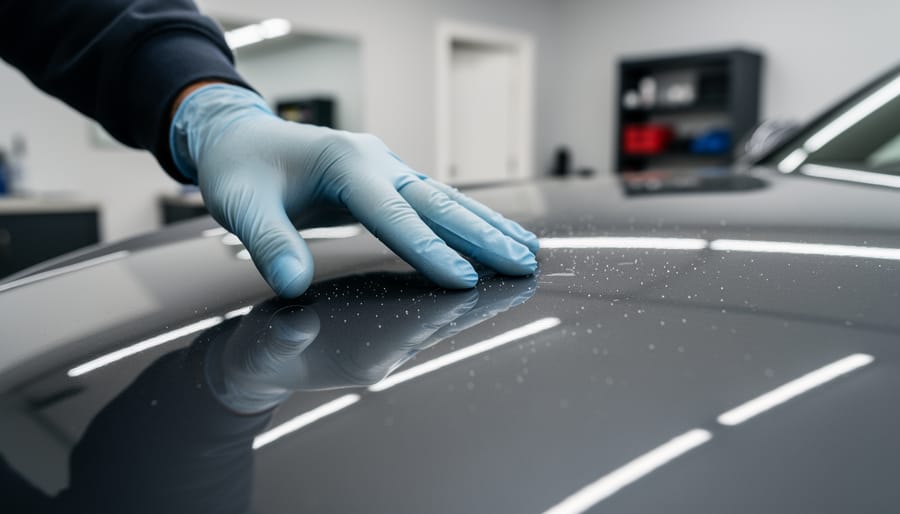
After rinsing away the snow foam, you’re at a critical decision point that determines whether your race car is truly ready for safe contact washing. This verification stage prevents you from introducing scratches during the hand wash, which would defeat the entire purpose of the pre-wash technique.
Start with a visual inspection while the car is still wet. Walk around the entire vehicle looking for visible contaminants that the snow foam didn’t remove. Pay special attention to lower body panels, behind wheel arches, and around vents where track debris accumulates. You’re checking for embedded rubber marbles, oil spots, or thick brake dust deposits that remain stuck to the surface.
Next, perform the tactile test using a clean microfiber wash mitt, not your bare hand. Gently glide the mitt across horizontal surfaces like the hood, roof, and trunk lid. These areas trap the most contaminants and provide the best indication of overall cleanliness. The surface should feel completely smooth, like glass. If you detect any grittiness, roughness, or “sandpaper” texture, contaminants remain on the paint.
Focus your assessment on high-risk zones where contamination persists longest. The lower portions of front fenders, areas directly behind wheels, and the rear diffuser typically need extra attention. Run your mitt test specifically on these sections rather than assuming the entire car is uniformly clean.
If you find problem areas, you have two options. For isolated spots with stubborn contamination, apply a second targeted snow foam pass just to those panels. For widespread remaining grit, it’s safer to foam and rinse the entire car again. The extra five minutes prevents potential damage worth hundreds or thousands in wrap or paint repair.
The decision criteria is straightforward: proceed to contact washing only when both visual and tactile checks confirm zero detectable grit across all surfaces. When in doubt, foam again. Race cars represent significant investments, and rushing this verification step undermines all the protective work your pre-wash accomplished.
Common Mistakes and How to Avoid Them
Even experienced track crews make snow foam mistakes that undermine the entire pre-wash process. Recognizing these errors before they damage your race car’s finish saves time, money, and frustration at the track.
Common Snow Foam Mistakes:
- Excessive pressure settingsRunning your pressure washer above 1500 PSI can force water under decals and damage vinyl wraps; dial down to 1200-1400 PSI and increase distance instead
- Rushing dwell timeRinsing after just 2-3 minutes doesn’t give chemicals time to break down baked-on rubber and brake dust; wait the full 5-10 minutes unless foam starts drying
- Wrong mixture ratiosToo concentrated wastes product and can leave residue, while too diluted creates thin foam that runs off immediately; follow your specific product’s ratio (typically 1:10 for snow foam lances)
- Direct spray into vulnerable areasHitting air intakes, exposed electrical connectors, or engine bay openings forces water where it shouldn’t go; keep spray angled away from these zones
- Working in extreme conditionsApplying foam in direct sunlight causes premature drying and streaking, while temperatures below 5°C prevent proper chemical action; find shade or wait for better conditions
The single biggest mistake is treating snow foam as a complete wash rather than a pre-wash step. Snow foam removes loose contamination but won’t eliminate bonded substances like tar or tree sap. If you notice stubborn spots after rinsing, apply a second foam pass to those specific areas rather than proceeding directly to contact washing. This targeted approach prevents scratching during the mitt wash stage while keeping your process efficient between track sessions.
Frequently Asked Questions
Racing brings unique cleaning challenges that don’t apply to daily drivers, and you need clear answers before you’re standing in the paddock with a foam lance. These questions come up at every track day and race weekend.
Can I use the same snow foam for street cars and race cars?
Yes, but verify it’s pH-neutral and safe for wraps if your race car has vinyl graphics. Track contaminants are more aggressive, so you may need a stronger dilution ratio than you’d use on your street car.
How often should I snow foam between sessions?
A quick snow foam pass after every two to three sessions keeps contaminants from bonding to paint. Full pre-wash treatments work best at the start and end of each race day.
What if track facilities have limited water access?
Bring your own water supply in 5-gallon jugs or a portable tank. A typical snow foam pre-wash uses 2-3 gallons per application, so plan accordingly for weekend events.
Is snow foam safe for vinyl wraps and racing liveries?
pH-neutral snow foam won’t damage quality vinyl, but avoid high-pressure direct spray on wrap edges and seams. Always maintain the recommended 12-18 inch distance from graphics.
Budget matters when you’re buying product for a full racing season. A concentrated 1-litre bottle of quality snow foam typically yields 20-30 applications at race-strength dilution. For a typical race weekend with practice, qualifying, and race sessions, expect to use 200-300ml of concentrate across all your pre-wash passes. Many racers keep a dedicated track-day bottle separate from their street car supplies to avoid cross-contamination and ensure they never run short during competition. Factor in an extra bottle per season for longer endurance events where you’ll perform more frequent cleaning between driver changes.
Mastering the snow foam pre-wash technique transforms how you care for your race car between sessions. This foundational step removes the aggressive track contaminants that would otherwise scratch paint and damage wraps during contact washing. By investing time in proper snow foam lancing with the right equipment, a quality lance, pH-neutral solution, and correct pressure washer settings, you protect thousands of dollars in paint, livery, and bodywork while maintaining the professional appearance sponsors expect.
The technique isn’t complicated, but it requires practice. Run through the full process at home before your first race weekend. Dial in your foam mixture ratio, get comfortable with lance adjustments, and develop the muscle memory for consistent coverage. When you arrive at the track, you’ll work efficiently and confidently, knowing your pre-wash routine prevents the micro-scratches that accumulate over a season. Your race car deserves the same meticulous preparation as your engine setup, start with snow foam, and you’ll see the difference in your paint’s longevity.